


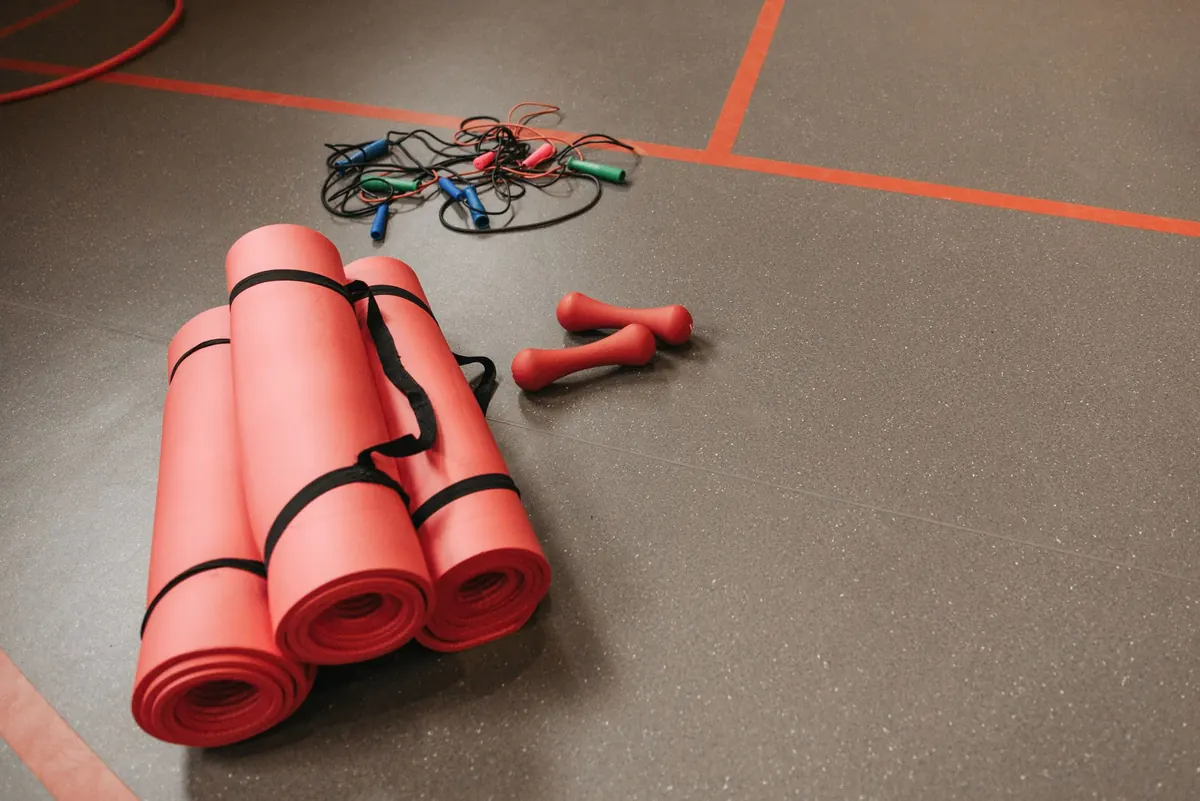

You do not need a rack, a bench, or a monthly membership to get stronger. You need a patch of floor, about twenty minutes, and a handful of movements that have been building muscle and bone for as long as people have been moving. The living room works fine.
What trips most beginners up is not motivation. It is not knowing what to do on Tuesday, or how to make a movement harder once it stops feeling like anything. That is what the rest of this covers.
Six Movements Cover Almost Everything
You can build a complete strength practice around six patterns. Learn them slowly, aim for clean form over big numbers, and you will hit your legs, hips, back, chest, shoulders and core in every session.
- Squat. Feet roughly shoulder-width, sit back and down as if reaching for a chair, chest tall, knees tracking over your toes. If full depth is not there yet, squat to an actual chair and stand back up. That counts.
- Hinge. A hip bridge on the floor, or a standing good morning with hands behind your head. The goal is to bend at the hips with a long spine and feel it in your glutes and hamstrings, not your lower back.
- Push. Start with hands on a kitchen counter or a sturdy table, then work toward the floor. A pike push-up, hips high, shifts the effort to your shoulders.
- Pull. The honest hard one at home. A row underneath a solid table, gripping the edge, works well. So does a towel row looped around a closed door handle, leaning back with straight arms and pulling your chest toward the door. If neither feels safe, spend the time on slow shoulder-blade squeezes and reverse snow angels until you have a setup you trust.
- Lunge or split squat. One leg forward, one back, drop the back knee toward the floor. This builds single-leg strength and balance, which is what carries you up stairs and hills for the next forty years.
- Core. Dead bugs, front planks, side planks. A loaded carry with two heavy grocery bags, walking tall for thirty seconds, is quietly one of the best core exercises going.
How to Put a Session Together
Keep the shape simple and repeat it. Novelty is fun; repetition is what actually changes your body.
- Warm up for four to five minutes. March in place, circle your arms and hips, do ten slow bodyweight squats. You are aiming to feel warm, not tired.
- Run three rounds. In each round: 8 to 12 squats, 8 to 12 push-ups at your level, 10 hip bridges, 8 rows per side, 8 split squats per leg, then a 20 to 30 second plank. Rest 60 to 90 seconds between rounds.
- Finish with two minutes of easy breathing and a gentle stretch for whatever feels tight.
That is roughly twenty minutes. On days when time is short, do two rounds and stop. Two honest rounds beat four rushed ones you skip tomorrow.
A Four-Week Starting Plan
Week one: two sessions, spaced at least two days apart. Leave two or three good reps in the tank each set — you should finish feeling capable, not wrecked. Write down what you did.
Week two: three sessions. Add one round, or add two reps to each movement. Either is progress.
Week three: keep three sessions but make the movements harder. Lower yourself for a slow count of three on every push-up and squat. Elevate your hands on a step for push-ups. Move from a chair squat to a free squat if your knees are happy.
Week four: three sessions, plus one easy walk-focused day. At the end of the week, test one thing: how many push-ups or how long a plank with good form. Note the number and move on. That number is your baseline, not your grade.
How to Progress Without Adding Weight
When a movement gets easy, you have five levers to pull before you need any equipment.
- Tempo. Slow the lowering phase to three or four seconds. A three-second squat is a different exercise from a one-second squat.
- Range. Squat deeper, push up from a lower surface, extend the plank arms further forward.
- Leverage. Move from hands on a counter to hands on a chair, then to the floor. Feet elevated is another step up.
- Single side. Split squats, single-leg hip bridges, and one-arm push-up variations from an incline all double the demand without adding a single pound.
- Rest. Cut your rest from ninety seconds to sixty. Same work, less recovery.
Change one variable at a time. Change three at once and you will not know what worked.
Rest Days and Recovery
Muscle adapts between sessions, not during them. Give the same movement patterns a full day before you train them hard again. That usually means three sessions a week with a gap in between, which suits most beginners better than five days in a row.
On rest days, move gently. A walk, some easy stretching, a few minutes of hip and shoulder mobility. Light movement tends to ease stiffness rather than add to it. Sleep is the part people skip: aim for a consistent bedtime and enough hours to wake up without an alarm when you can. Eat protein at your meals, drink water, and do not treat rest as a punishment.
Learn the difference between soreness and pain. Soreness is dull, shows up in the muscles you worked, feels symmetrical, and eases as you warm up. Pain is sharp, sits in a joint, appears on one side, or gets worse with movement. Sharp pain means stop, rest it, and get it looked at.
If you are pregnant, recovering from an injury or surgery, or managing a heart, joint or blood pressure condition, speak to a doctor or physiotherapist before you start. A short conversation now saves a long one later.
Your First Session Starts Now
Pick two days this week. Put them in your calendar as if they were appointments. Leave your mat or towel on the floor so it is the first thing you see. Do three rounds, write down your reps, and stop while you still feel good.
That is the whole trick. Strength at home is not built by finding the perfect program. It is built by doing an unremarkable twenty minutes, twice a week, for long enough that it stops being unusual. Start smaller than you think you should. You can always add more next week.
Photo: Pavel Danilyuk / Pexels